Friday, October 24, 2014
Step-up my game..
I've had this VW Bus for 1 year now. I really need to step-up my game. By summer, I promise to have it in painting mode. Thank god for having this blog, it helps me keep track of time.
Nose Clip Repair Plan


Tuesday, October 21, 2014


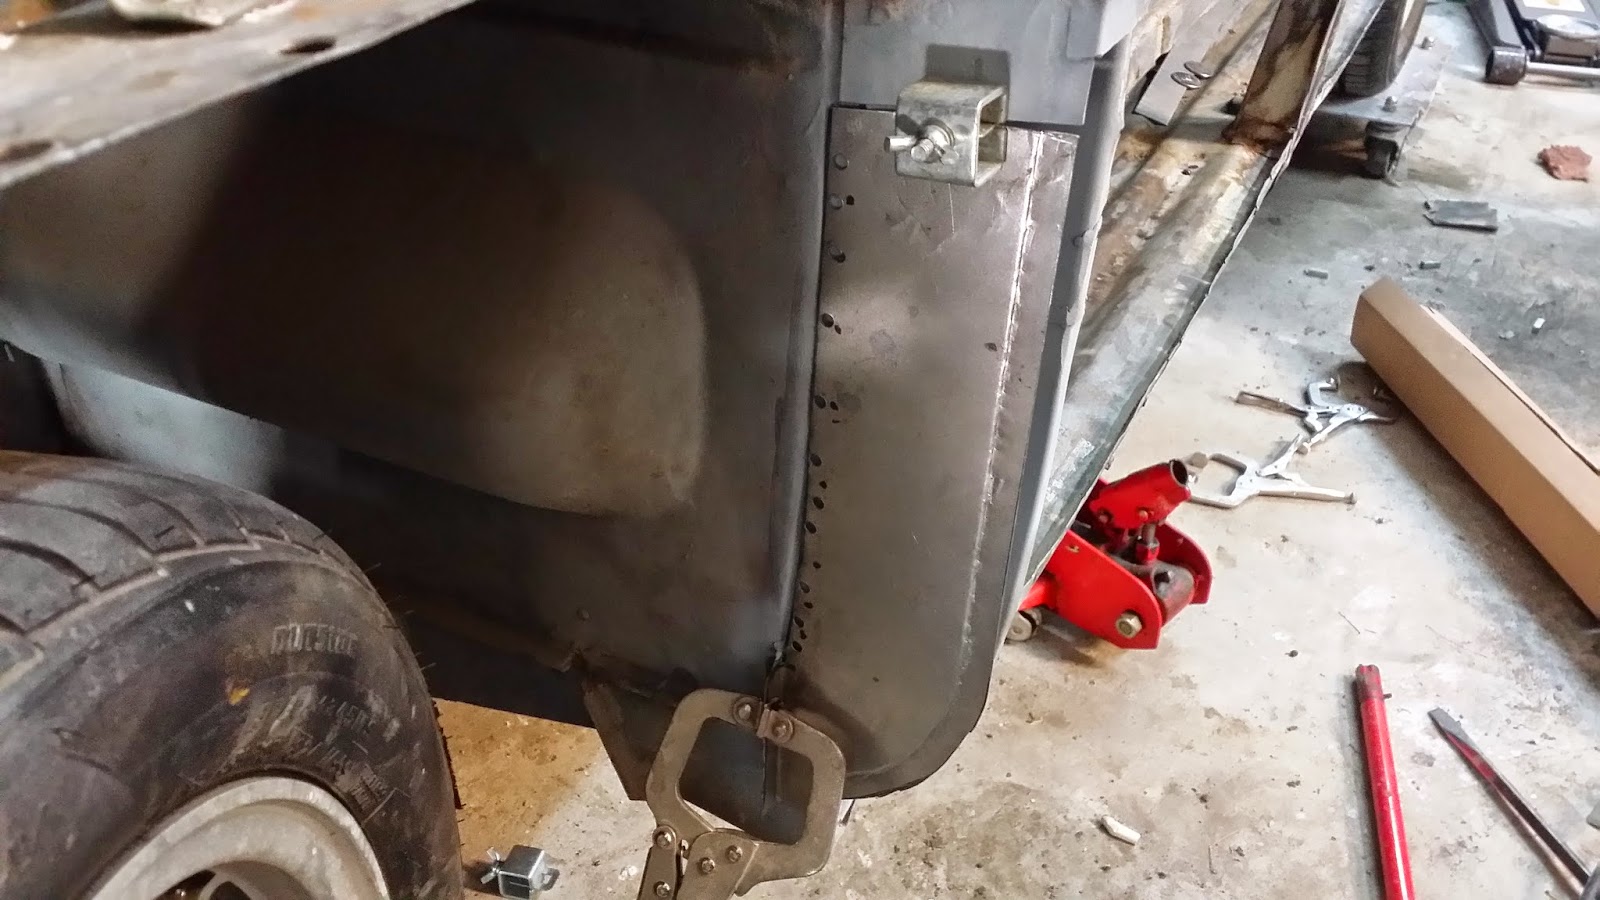
Along the top side panel, I'll have to grind down some of the ridges that doesn't allow the outer rocker to mate evenly to the bottom. This doesn't allow the weld holes punched in the bottom to mate to the inner rocker. This will be fixed on my next visit to the garage.

Tuesday, October 14, 2014
Fixing the front B pillar post


Thursday, September 11, 2014
Before and after
This picture, I was finished trying to repair the inner rocker. As you can see, after trying to weld in some metal over rusted parts, I cutaway a piece because I realized it should be completely replaced.
.jpg)

Friday, September 5, 2014
My 58 VW Bug
 Thought I should post a picture of my 1958 VW Bug that was in the Gov Island Show in 2013. I missed the show this year. I now this is off topic, but often I forget that I have this car because I am working on the Bus so often.
Tuesday, September 2, 2014
Labor Day Week-end with the Bus.


Subscribe to:
Posts (Atom)