 After chatting on a auto body repair forum, I asked a question about slip rolling of sheet metal to get the desired bends in my flat replacement panel that I ordered. One of the users asked me a simple question. "If you already remove the original skin, why not repair it since you already did the hard part?" This way, I don't have to worry about the wrong bends created by slip roller and I would not have to cut out and weld in the license plate galley, which is too complicated for me to try to make myself.
He was 100% correct. So I removed the stupid stud welds that I originally put on the lid and I started hammering out the dents from the rear side. Talk about easy work. It is pretty easy when you have full access to both sides of a damaged piece of metal.
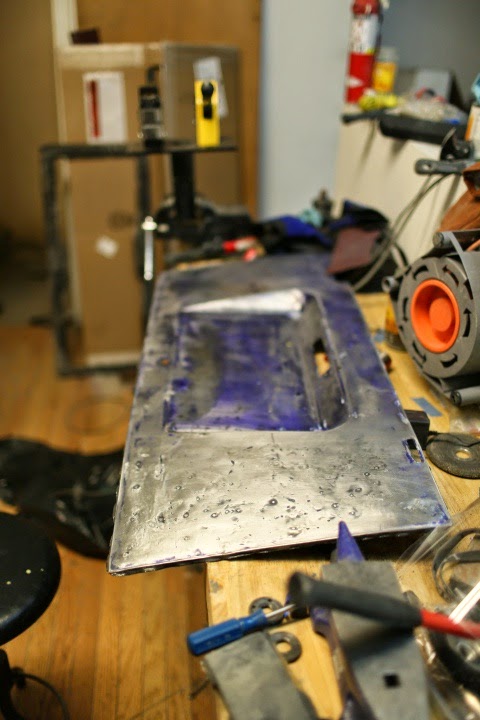
 Here you can see the results of my great hammering work. So far, so good. I'm not worried about all the orange peel hammer marks, as I will follow up with a metal shrinker to push and pull them smoothly. As you can see in the top left-hand side, the hinge hole will need to be fabricated for this, as the other part is still stuck on the lid frame. The gauge of the frame metal is only 22 gauge. It is very delicate, so I'll need to spend some time removing that for the new replacement (See my previous post).
The rest are simply additional photos of the hammering and dolly/anvil work that I did thus far. The basic shape is there. I will need to hammer focus around the lower center area, near the church key hole and in slightly minor areas all around.


View from the most damaged side with extra lighting. I am keeping track of my hours, as one person told me to throw the lid away and buy a better used on for ~$500 or so. I disagreed because the condition of the replacement could be the same or worst underneath paint or primer as mine was.

To be continued...


