This is just pictures of the things that I worked on today, without much explanation. Removal of partial front panel, removal of doglegs (passenger fender) and final paint removal on front Porsche Fuchs wheel.
My first solo VW Bus restoration project with weekly updates. Come and experience the process with me by clicking the G+.
Showing posts with label rust. Show all posts
Saturday, January 17, 2015
Tuesday, December 30, 2014
Front Nose Clip Repair - Part #2
I used a plasma cutter to remove the front headlight support bracket. I guess it was from being lazy or just frustrated with removing the inner valance off of the frame. I've fabricated a new replacement for the section that I quickly cut out. For some reason, this still seemed a lot simpler. This was done on both sides of the van. I am currently awaiting my order for a new headlight support bracket. I just need to grind it down once a few places are tack-welded to the body. This piece is required to spot-weld the inner valance to the body, so I must put it back. I'll show this completed, but I will only continue after I have the replace support bracket in my possession to try it on for size.
Just making sure that I am going in the correct direction with the fender and pillar from the size perspective. It doesn't completely line up yet because I have not grind-ed down the tack-welds for the side rocker panel that I repaired previously. This is just to check to see if the angle will be right when I hit that step soon. This should be completed in a few weeks.
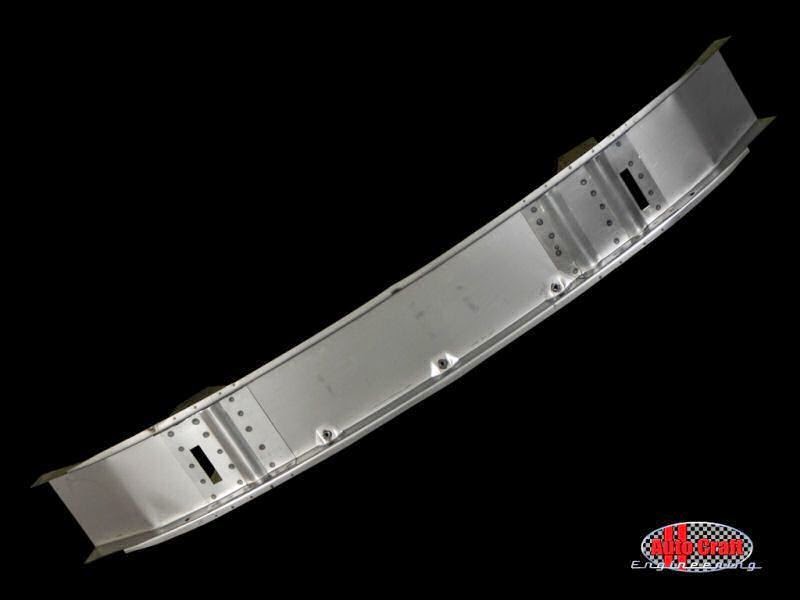
Although, the valances does not fit onto the frame, because of metal that still needs to be clear off the two frame post. I had to try it partly on to make sure the part's location is exactly where I expected it. This is an AutoCraft part, so it is very proper. Stay tuned.
Sunday, December 14, 2014
Nose and Valance Removal - updated
In this photo, 8" inches of the noes has been removed to fix a few crushes along the driver's headlight and the point in the center was banged in pretty badly. A former own drilled a lot of small slide-hammer holes to try to pull the tip out.
I removed most of the outer front nose panel skin from the heavily rusted and bent out of shape inner valance. The target is to remove the inner valance and headlight support bracket.
Exposed is the headlight support bracket on the top and the inner valance at the lower half. This is before the removal.
Side view of most of the inner valance removed. The hard part is removing the part in which it is connected to the frame. I'm am going to finish removing the headlight support bracket so that getting to the top of the beam would be simpler.
Front view of the removal. I mostly used a plasma cutter to remove most of the metal and a cutoff wheel when control was required.
Here is all the scrap removed. Stay tuned.
Getting the bottom valance off the bumper support beams is not an easy task. After another 2 hours, i'm basically still in the same situation. In this photo below, I removed 80% of the metal off the bumper support beam and I have the headlight support bracket detached from the passenger's side. I've decided to remove it to have access to straighten it out. It had been impacted by the minor accident.
Tuesday, December 9, 2014
Nose reconstruction project.
I just purchased a new inner valance for my bus project. I have been reading up on how to install it. It seems pretty straightforward and scary. Hehehe.. I've also, purchase lower A-pillar post to assist in alignment of the whole setup. Stay tune for that process which will begin shortly. I am not going to add the fenders until I have had a chance to work both sides of the door post (A-Pillar on the passenger's side).
Here is a photo of my current front under the nose clip. Doesn't look good. the previous owner had damage and popped holes into the front. The holes allowed moisture to get in causing this amount of rust. This will all be replaced and made to look new. The mini project will be called the VW Bus Nose Surgery project (Front Inner Valance).
![]() |
| Rusty front |
Wednesday, December 3, 2014
Major Progress
It's been a long time. A lot of my slow speed comes from mistakes and the lack of confidence. I believe, once I finish this area, things will speed up, as I am already feeling my confidence building up nicely. The way in which I tackle each problem is only creating a stronger Marquis at the end of each session.
I finally got the B-Pillar closed up and sealed perfectly. I ended up switching from the AutoCraft parts to a Funky Green panel pillar. This pillar reaches farther up and it also closes the gap perfectly.
Once the B-Pillar closed up, I spot welded the inner rockers to the cross connects (top and bottom hats). In some cases, I had to use a MIG welder to spot weld behind the middle pillars. For the ones that were reachable, this spot welder was the fastest and cleanest method possible.
This is a photo that shows how I tried to access in the middle of the beam with the spot welder. In most cases, I didn't work well. I was tired of holding the welder since it is very heavy.
The inner rocker and the pillar and the pillar closeout plate looks solid. I've added some weldable primer to resist against rust that could form when closing the gap and from the welding process overall.
The outer rocker is finally sized up for the final time to make sure it lines up for welding. I need to purchase a few more magnets to make sure all areas along the panel mates the original across the van in a leveled way.
I will post pictures when I am finished with the welding of the side.
Saturday, November 15, 2014
Funky Green Panel sizing - B Pillar
This is a video moment of the installing the Funky Green Panel - B Pillar. I promise this will end soon. :-)
Wednesday, November 12, 2014
Metal Prep - Video Part 1
Here is the metal prep for my damage front nose cone (panel). The process takes 5-6 weeks to remove rust. So, this is Part #1
Subscribe to:
Posts (Atom)


.jpeg)