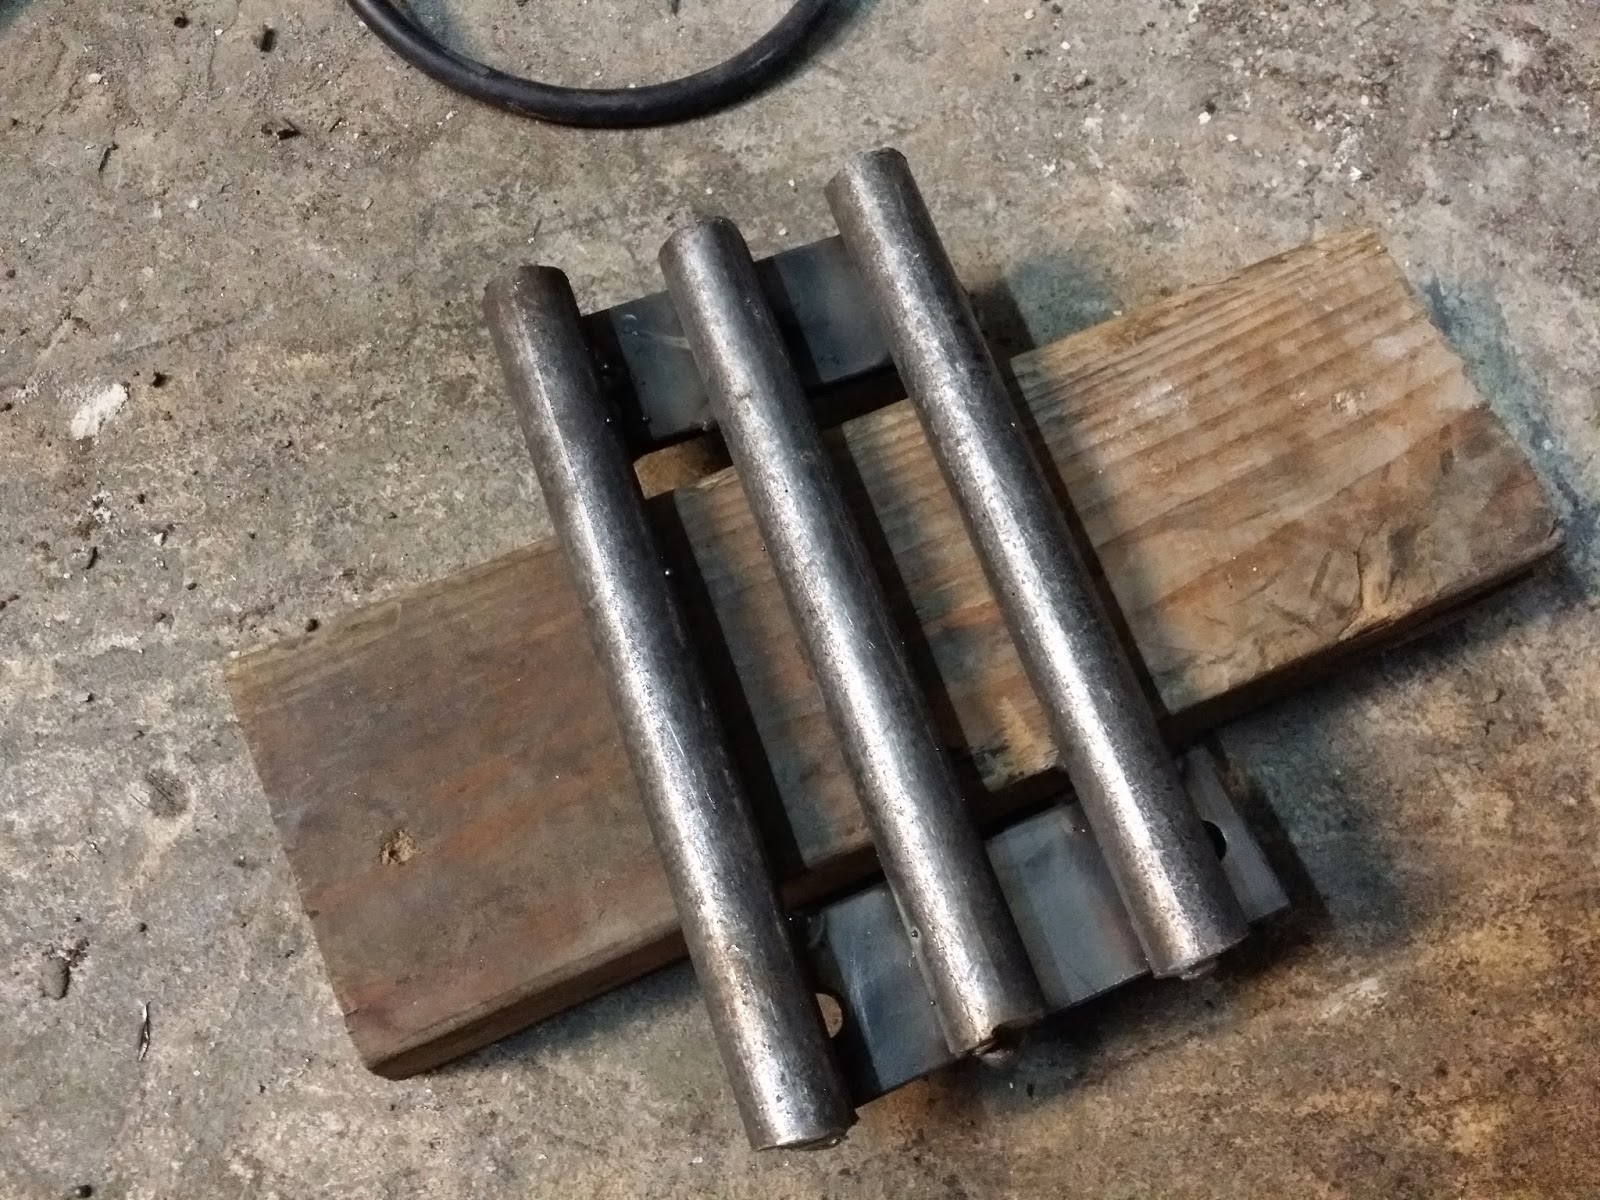
Today I built a cargo floor dent bender/repairer. In many spots, maybe because the driver's side had an accident long ago, the cargo floor has several bows in the in. I don't want to replace the floor because it is in really good Texas shape. I built a quick device to aid in straightening it out. This is spaced out to fit the grooves of the cargo floor and press it up from the bottom between the high groove marks.
Today, I just tested it slightly. When I really use it, I will jack it up and go inside and hammer the opposite side high spots to agitate the metal so that is straightens out much easier.

This is the same photo that I posted in my last post, but this can help you see the bows in the cargo floor from the bottom view.
This is how it works. With a jack, making sure the bars fits into the grooves from underneath, jack it up to apply pressure moving the jack across the bows each time, as the metal bends itself from the underside pressure. From the outside reaching in or from the inside completely, I will hammer down lightly on the high spots on each side of the apparatus applying upward pressure.
From my test, you can see, it almost fixed one dent in a few minutes. I didn't get to the hammer part that helps relieve tension.
For now, I have to make my helper rust proof.
I painted it blue from extra paint that I had around the garage. This will help keep it from rusting, just in case I need this for another project. Hey, you never know. Maybe I'll sell this when I am done. I love the project more than the finish car I guess.


 Here I had to build a mini pressure tool. This allows me to apply force on small dents and more stubborn ones that needs more direct localized pressure to straighten out the metal.