Wednesday, December 24, 2014

Nose and A-Pillar replacement

My prep to fix the front noes of the bus.  Here I measured the replacement panel that will repair the crushed bus nose shape.  The panel that I cut is 8 inches (20.32 cm) high. The replacement panel is it a tad bit higher, but I rather grind it up to cover my imperfect cuts that normally run a bit high and low. I used the blue tape as a guide, trying to cut on top of it, or skimming it.  With all the sparks, it is very hard to tell. That is why I made sure that I under cut the piece. If I made a mistake, the whole replacement would be roughly $600.00 USA with shipping and it would require my retro-fitting the earlier bullet turning signals.

The bottom nose was removed. I tried to input the replacement part and as expected, it is to low to insert.  The main goal of this repair is to replace the A-Pillar below the floor.  I needed access to see what was beneath it all.  The secondary reason was to replace the damaged nose.


Please stay tuned..

Sunday, December 14, 2014

Nose and Valance Removal - updated

In this photo, 8" inches of the noes has been removed to fix a few crushes  along the driver's headlight and the point in the center was banged in pretty badly. A former own drilled a lot of small slide-hammer holes to try to pull the tip out.
 I removed most of the outer front nose panel skin from the heavily rusted and bent out of shape inner valance.  The target is to remove the inner valance and headlight support bracket.
Exposed is the headlight support bracket on the top and the inner valance at the lower half. This is before the removal.
Side view of most of the inner valance removed. The hard part is removing the part in which it is connected to the frame. I'm am going to finish removing the headlight support bracket so that getting to the top of the beam would be simpler.
Front view of the removal.  I mostly used a plasma cutter to remove most of the metal and a cutoff wheel when control was required.

Here is all the scrap removed.  Stay tuned.


Getting the bottom valance off the bumper support beams is not an easy task.  After another 2 hours, i'm basically still in the same situation.  In this photo below, I removed 80% of the metal off the bumper support beam and I have the headlight support bracket detached from the passenger's side. I've decided to remove it to have access to straighten it out. It had been impacted by the minor accident.


Tuesday, December 9, 2014

Nose reconstruction project.

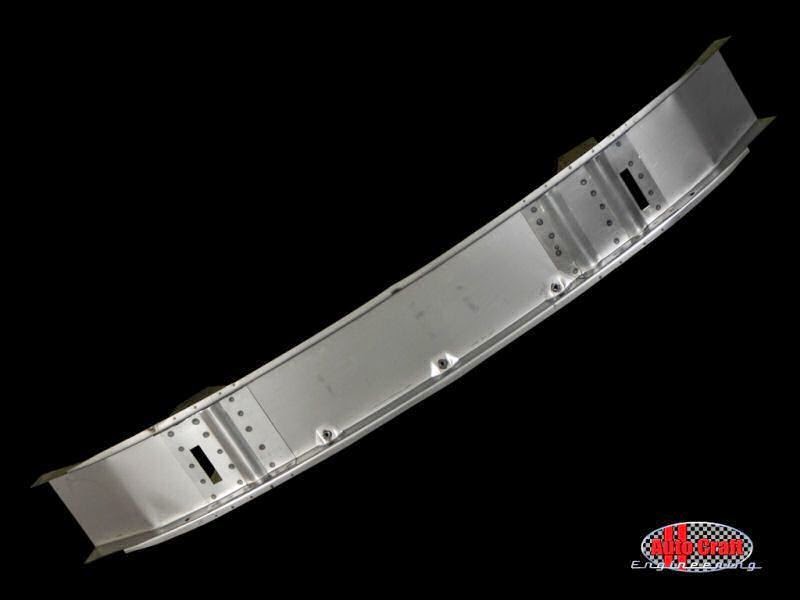
I just purchased a new inner valance for my bus project.  I have been reading up on how to install it. It seems pretty straightforward and scary. Hehehe.. I've also, purchase lower A-pillar post to assist in alignment of the whole setup. Stay tune for that process which will begin shortly.  I am not going to add the fenders until I have had a chance to work both sides of the door post (A-Pillar on the passenger's side).


Here is a photo of my current front under the nose clip. Doesn't look good. the previous owner had damage and popped holes into the front. The holes allowed moisture to get in causing this amount of rust.  This will all be replaced and made to look new. The mini project will be called the VW Bus Nose Surgery project (Front Inner Valance).
Rusty front

Sunday, December 7, 2014

Closing Crap up! - Updated

I had to go a little medieval to get the side rocker panel in place, bending the B-pillar closeout plate with my Ford's scissor jack . It worked perfectly. The top lip of the outer rockers had about 1/8 of space that needed to be balanced out.   See the next photo and you'll understand that it was indeed successful.


As you can see, the panel lined up beautifully.  I've added the tack welds to hold the panel in place and I also added a few spot welds to the bottom to keep it in.  I ran out of gas today for my MIG welder.  Picking some up tomorrow and finishing the closing.

Here is the side bead welded across and down. The warpage was minor for such a long piece of metal. I had to jump around the line so that one part of the metal did not become too hot at anytime.  Just need to grind down the slug and prep area for priming.


Wednesday, December 3, 2014

Major Progress

 It's been a long time. A lot of my slow speed comes from mistakes and the lack of confidence.  I believe, once I finish this area, things will speed up, as I am already feeling my confidence building up nicely. The way in which I tackle each problem is only creating a stronger Marquis at the end of each session.

I finally got the B-Pillar closed up and sealed perfectly.  I ended up switching from the AutoCraft parts to a Funky Green panel pillar.  This pillar reaches farther up and it also closes the gap perfectly.
Once the  B-Pillar closed up,  I spot welded  the inner rockers to the cross connects (top and bottom hats). In some cases, I had to use a MIG welder to spot weld behind the middle pillars. For the ones that were reachable, this spot welder was the fastest and cleanest method possible.


This is a photo that shows how I tried to access in the middle of the beam with the spot welder.  In most cases, I didn't work well.  I was tired of holding the welder since it is very heavy.
The inner rocker and the pillar and the pillar closeout plate looks solid. I've added some weldable primer to resist against rust that could form when closing the gap and from the welding process overall.
The outer rocker is finally sized up for the final time to make sure it lines up for welding. I need to purchase a few more magnets to make sure all areas along the panel mates the original across the van in a leveled way.

I will post pictures when I am finished with the welding of the side.


Saturday, November 15, 2014

Funky Green Panel sizing - B Pillar

This is a video moment of the installing the Funky Green Panel - B Pillar.  I promise this will end soon. :-)


Wednesday, November 12, 2014

Metal Prep - Video Part 1

Here is the metal prep for my damage front nose cone (panel). The process takes 5-6 weeks to remove rust.  So, this is Part #1